
monster's inc's boo is one of my all-time favorite characters. she never really says anything intelligible, but she's so cute and i adore that movie. and after looking at a few online pictures of costumes others have pulled off, i decided i was totally up for the challenge. after all, it's not like i don't have experience with creating disney-inspire costumes, amirite?
now, a disclaimer - if you have zero interest in sewing or costumes, this is likely going to be a very boring post for you to read. to be perfectly honest, i'm actually writing it like a tutorial just so i can come back to it should i ever need to do another one of these. i tried to take pictures along the way, but there were times when i got so into the process that i just forgot. and because i had to put so much actual brain power into putting this thing together, i figure it's probably a good idea to get it down before i forget. old, remember?
the other costumes i saw involved creating a tube using shiny purple fabric and some sort of batting, creating a small wearable quilt, if you will. but because i wanted to add sleeves to my version, i decided that the best way to handle it was to use my somewhat intermediate sewing skills to make a pattern, cut out the materials and then think it through really carefully to make sure i didn't jump ahead and do any steps out of order. i did a quick (really bad) sketch on the back of an envelope, busted out one of the patterns i use to make a simple top for the bean, and got started. here's the pattern i ended up making:

i decided that in order to make it work, i needed to cut the back into two pieces. i cut out one piece of the front out of the main (shiny) fabric, one of the fleece batting, and then i decided use some purple blanket-style fleece to line it so that it would be nice and warm. i pinned them all together and then sewed four lines across the piece to create the "quilt" effect. then i used the serger to sew the top edge together and keep it all in place.

next, i took the two back pieces and repeated the process, minus serging the top.

instead, i clipped it all together, flipped the order of the layers and serged the outside edge. then i flipped the main piece out so that everything was in the right order.


that ended up being sewing the shoulders together and inserting the sleeves, just like i normally would do with a top.

this is what it looked like after i flipped everything right side out (but before sewing the sleeves shut and the sides together):

while i was patting myself on the back because it looked fairly decent, i realized something: this didn't allow any room at all for adding the hood. and duh, the hood is probably the most important part of this whole ensemble. BAH.

after throwing a tantrum, complete with banging angry fists onto the table and growling out a few choice words, i decided i was done for the night and walked away. the next morning, i sucked it up and busted out the scissors to start snipping the serged shoulder seam off. as much as i hate ripping up a regular seam sewn with a regular machine, trying to remove one done on the serger is a billion times worse.

luckily, i managed to get it done without cutting any holes in the fabric. see, a good night's sleep really did do me some good.

looking at the hood pieces i'd cut out using my sad little homemade pattern, i realized that they were way too small and weren't going to work at all. and so i measured the top part of the front piece and cut out a new hood that i thought was much better.

i remembered that i needed to add a collar of sorts to the neckline so that there was something to attach that hood to. and so i measured out the entire top and cut out the pieces for that:

and while i was at it, i figured it was time to cut out some teeth, too.

after clipping the collar together, i inserted the teeth in between the main fabric and the batting - upside down, so that after it was sewn together and flipped out, the teeth would face the right way.


when i flipped it out i noticed that the teeth kind of flopped around awkwardly, so i added a topstitch to keep them in place. and voila:

then i sewed the short edges together to make a circle (and yes, i'm fully aware that it wasn't perfectly even. sue me):

clipped it to the costume, right sides and raw edges together:

and look! getting so close!!

after sewing the lining pieces of the hood together, i put it next to the costume to see how it would all come together:


except that of course, the finished hood was too wide at the bottom. if i sewed it on as is, i was going to end up sewing right over two of the teeth on the collar. D-OH. and so i did a little trimming and turning under and fixed that little problem right up.
the altered hood was sewn to the collar (again, with right sides together and raw edges facing up):

come on, you know i had to try it on to see how it was looking.

the sleeves still had raw edges at the hem. i thought it might be fun to add a piece inside so that boo could put her hands inside, kind of like a glove of sorts. and so i cut out two pieces like this and sewed them to the inside of the sleeve:

and here's how it looked at that point.

i'd contemplated making a band for the bottom hem and possibly adding some silver "legs" to it, but because i'd screwed up on the hood and had to cut out more pieces, i was out of main fabric. plus, i was kind of over it by then. heh. and so i just trimmed the edges to make them all line up and serged that bad boy up and called it a day.
setting that aside, i took two black pipe cleaners and twisted them together to form the stems for the eyeballs.

using a couple of foam balls we'd found at the dollar store, i colored in some black circles with a sharpie. looking back, i would've used some fabric paint and a brush, but this was going to have to do. i poked the stems into the bottom, pulled them back out and then added a little hot glue to the ends so that they (hopefully) wouldn't come out:

and then i twisted the bottom into a little circle and used a good old fashioned needle and thread to hand sew them to the hood.

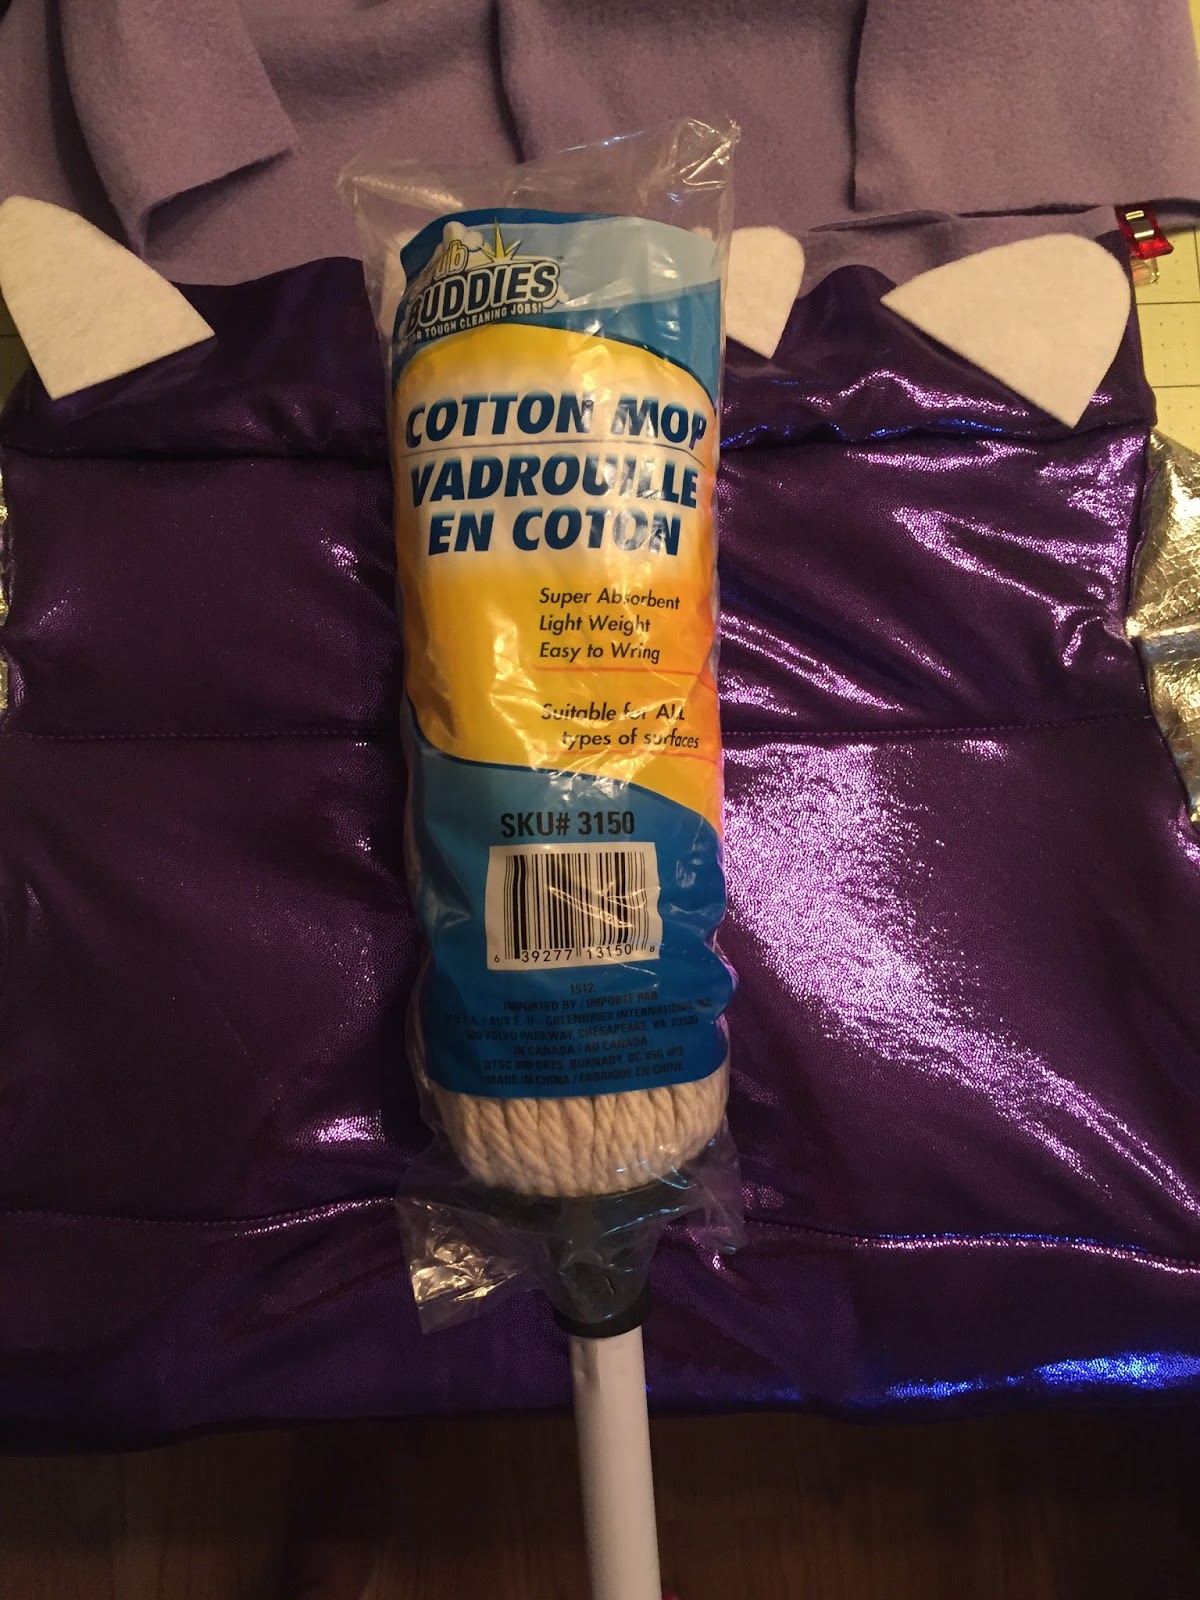
i pulled the mop head off of the stick and used a pair of pliers to snap off the plastic piece that held it into place.

i'd agonized over how to do this - did i want to attach it to the lining before closing up the hood? or maybe sew the hair to little circles of the main fabric and then sew the circles to the hood? in the end, i gave up on trying to be innovative and just sewed clusters of the mop to the hood by hand. it could have probably used more hair than what i put on, but i think it'll be okay. i added some strips of purple satin ribbon to the back, and the costume was finished at last.
DONE. are you ready for this jelly?


i got to see her try it on yesterday, and while i was fairly certain that it would fit just fine (having tried it on myself plus getting the bean to give it a shot), i held my breath for a second as i pulled it over her head. but it was all worth it when i saw the smile on her face...and her mom's, too.

happy halloween, everybody!

No comments:
Post a Comment
i heart comments. i wan-na hear what you have to say.
um, i think.